How to Install Node.js Using NVM on Windows

What is NVM?
NVM, or Node Version Manager, is a tool that simplifies the process of installing and managing multiple versions of Node.js. It allows developers to switch between versions seamlessly, ensuring compatibility with various projects. While NVM is natively available for Unix-based systems, Windows users can use nvm-windows, a compatible version designed specifically for Windows.
Steps to Install Node.js Using NVM on Windows
Step 1: Uninstall Existing Node.js Versions
Before installing NVM, it’s important to ensure that any existing installations of Node.js are removed. This prevents conflicts and ensures a clean setup. To uninstall Node.js:
- Open the Control Panel.
- Navigate to Programs and Features.
- Locate Node.js in the list of installed programs.
- Right-click and select Uninstall.
Step 2: Download and Install NVM for Windows
NVM for Windows is not the same as the Unix-based NVM, but it provides similar functionality. To install it:
- Visit the nvm-windows GitHub repository.
- Download the latest installer from the Releases section.
- Run the installer and follow the on-screen instructions.
- During installation, ensure the installation path is set to a directory without spaces (e.g.,
C:\nvm).
Step 3: Verify NVM Installation
Once the installation is complete, we need to verify that NVM is installed correctly:
- Open a new Command Prompt or PowerShell window.
- Run the following command:
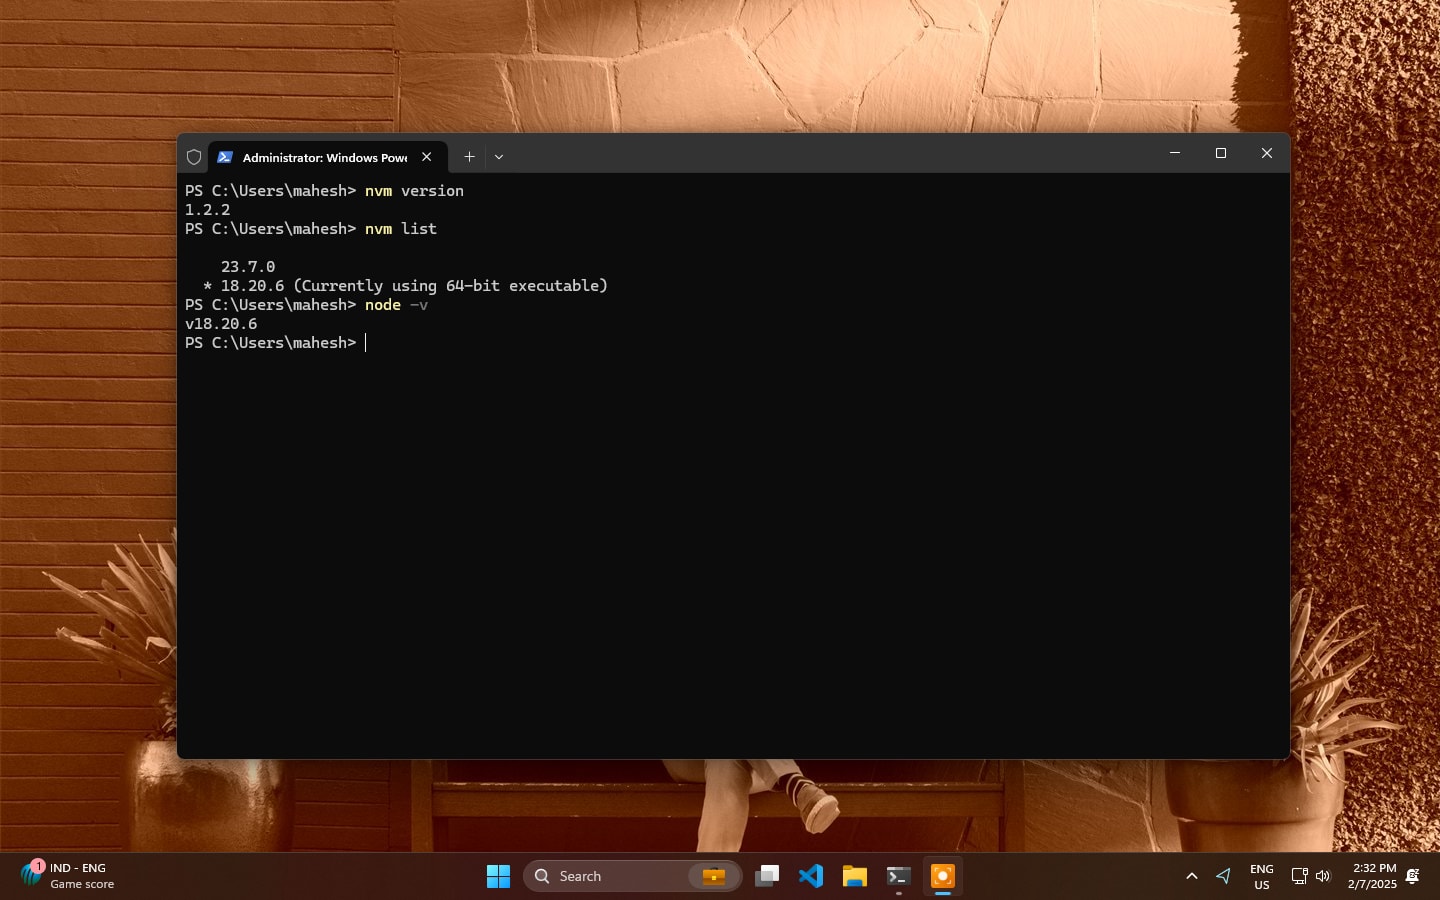
nvm version - If NVM is installed correctly, the installed version will be displayed.
Step 4: Install Node.js Using NVM
With NVM installed, we can now install any version of Node.js. Here’s how:
- To install the latest version of Node.js, run:
nvm install latest - To install a specific version (e.g., 18.20.6), use:
nvm install 18.20.6
Step 5: Switch Between Node.js Versions
One of the key benefits of NVM is the ability to switch between different Node.js versions. To switch to a specific version:
- List all installed versions using:
nvm list - Switch to the desired version (e.g., 18.20.6) by running:
nvm use 18.20.6 - Verify the active version with:
node -v
Step 6: Set a Default Node.js Version
To avoid manually switching versions every time, we can set a default version:
- Run the following command to set a default version (e.g., 18.20.6):
nvm alias default 18.20.6 - This ensures that the specified version is used automatically when opening a new terminal.
Troubleshooting Common Issues
While NVM for Windows is generally reliable, there are a few common issues to be aware of:
- Path Conflicts: Ensure that the NVM installation directory is added to the system’s PATH environment variable. This is usually handled by the installer, but it’s worth double-checking.
- Permission Issues: Run the Command Prompt or PowerShell as an administrator if encountering permission-related errors.
- Node.js Not Recognized: If the
nodecommand is not recognized after installation, restart the terminal or reboot the system.
Conclusion
Using NVM to manage Node.js versions on Windows simplifies the development process, especially when working on multiple projects with different version requirements. By following the steps outlined above, we can easily install, switch, and manage Node.js versions without any hassle. Whether it’s the latest version or a specific one, NVM ensures a smooth and efficient workflow.
Happy coding!


Leave a comment