
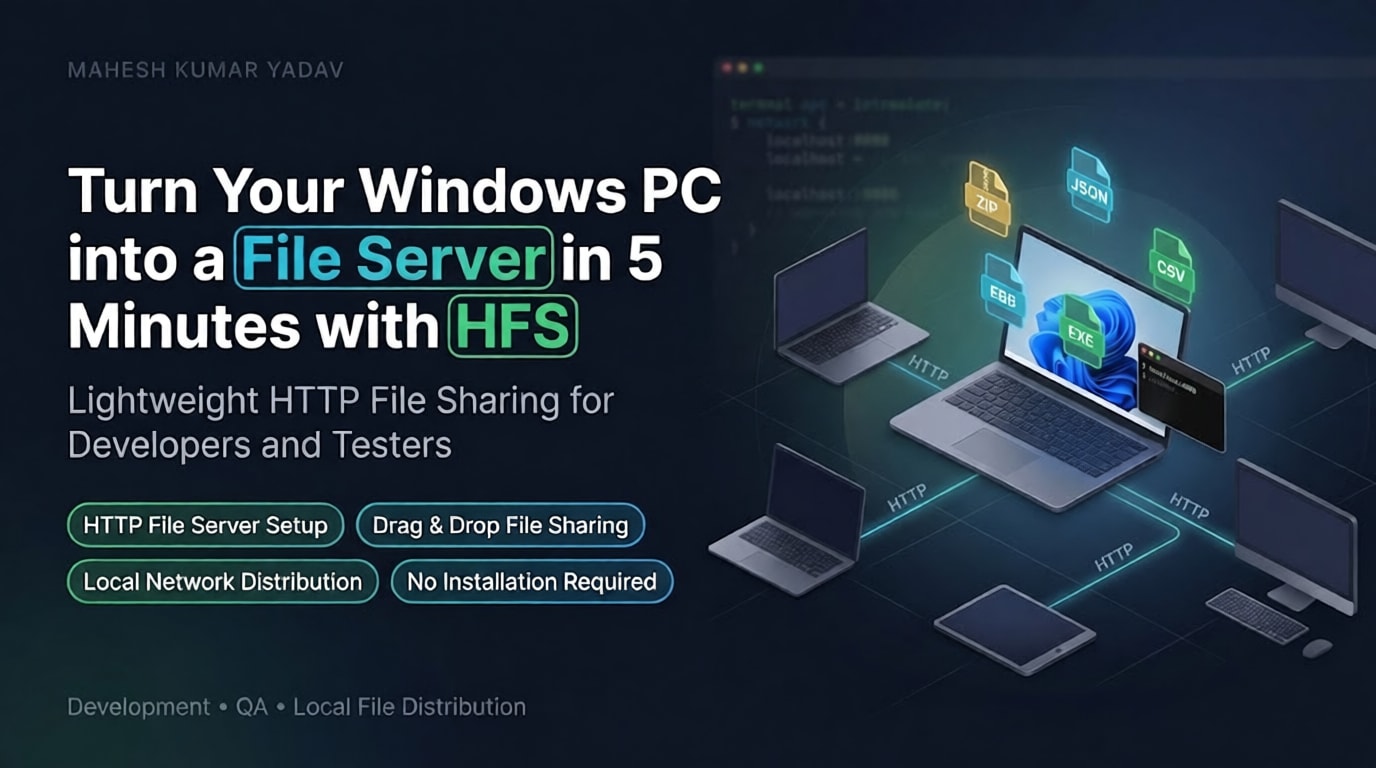
Set Up an FTP Server Using Our Router and Access Files Remotely

When we want to access our files from anywhere—be it documents, movies, or backups—we don’t always need expensive cloud services or complicated hardware. A simple USB drive and our home router can do the job. In this guide, we’ll set up a basic FTP (File Transfer Protocol) server using our router and make it accessible from outside our local network.
🧰 What We Need
- A router with a USB port and FTP support
- A USB flash drive or external hard drive
- A computer or phone to test the connection
- A Dynamic DNS (DDNS) account if our IP address changes often
🔌 Step 1: Connect the USB Drive
First, we plug our USB storage device into the router’s USB port. Most routers detect it automatically within a few seconds. This device will act as our shared storage space.
⚙️ Step 2: Enable FTP on the Router
Next, we access our router’s settings by opening a browser and typing something like 192.168.0.1 or 192.168.1.1. After logging in:
- We find the USB or Storage Sharing section.
- Look for an option called FTP Server or File Sharing and turn it on.
- Set user access—anonymous access is easy but not secure, so we choose user-based login for safety.
- The router usually shows an FTP link like
ftp://192.168.1.1for local access.
🔎 Step 3: Test It Locally
Before we go remote, we test it from within our home network:
- On a Windows computer, we open File Explorer and type the FTP address.
- On mobile, we use an app like AndFTP or FileExplorer, enter the router’s IP, and log in.
If everything’s working, we’ll see the contents of our USB drive.
🌐 Step 4: Access FTP Externally
To reach our server from anywhere in the world, we need to open it to the internet.
🔁 Set Up Port Forwarding
In the router settings:
- Go to Port Forwarding or Virtual Server settings.
- Forward port 21 (used for FTP) to the internal IP of the router or storage device.
- Save the settings.
🌍 Set Up DDNS for a Stable Address
If our internet provider gives us a changing IP address, we can:
- Use a DDNS service like No-IP or DuckDNS.
- Link it with our router (many routers support DDNS settings).
- Choose a name like
ourftp.ddns.netto make connecting easier.
🔑 Test External Access
From a different network (like mobile data), we open an FTP client and:
- Enter our public IP or DDNS address
- Use port 21 and the username/password we set
- If it connects, we can now access our files remotely!
🛡️ Security Tips
- Change the default router login immediately
- Avoid anonymous access for remote users
- Use stronger passwords for FTP accounts
- If possible, use FTPS (secure FTP) or a custom port for added protection
✅ Wrapping Up
By using our router’s FTP feature, we’ve built a lightweight personal cloud. It’s easy, cost-effective, and works anywhere with internet access. Whether we’re on vacation or at work, our files are just a few taps away.
If we face any issues with setup or want to enhance security even more, we can explore firewall rules, VPN options, or even a Raspberry Pi file server as a next step.
Let’s keep things simple—and connected!

Leave a comment